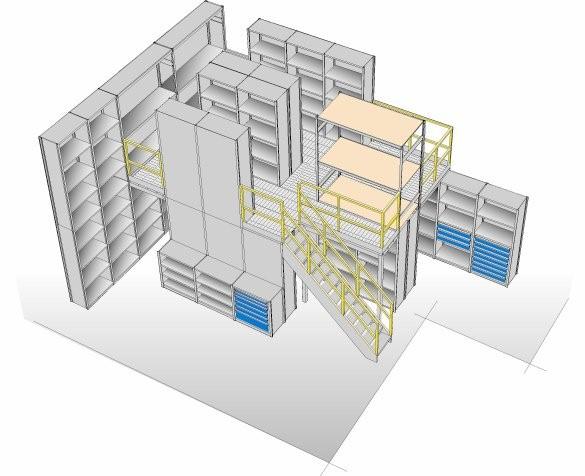
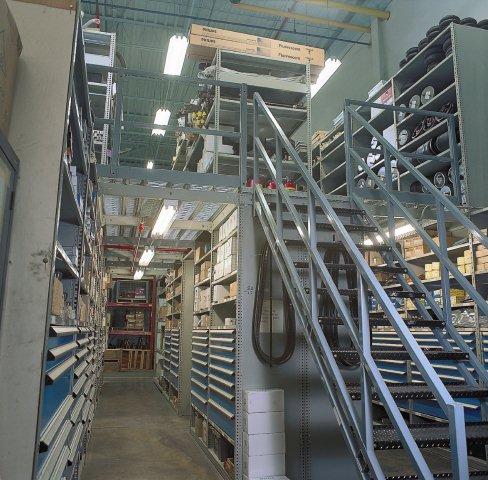
If you are planning for a small parts storage mezzanine in the future, here are a few easy and low cost steps you can take now to minimize the extra costs and impact to your operations in the future.
Shelving and rack supported mezzanines are often installed in two phases. The lower level is installed first, with the anticipation of expanding upward to a second level as storage, order picking, or as manufacturing needs grow. It is very important to design your shelving or rack layout initially with the future mezzanine capability in mind. You can avoid major safety concerns and extra installation costs if this is done correctly in the beginning. Most of these concerns will apply to both the deck-over and the shelving-up-through options
The first consideration is capacity. A shelving or rack system may be adequate for a single level system, but when a second level of storage is added, the upright post or frame capacities may not be sufficient to support the load on the second level. This can be addressed in two ways. First, ensure that the posts or uprights you install on the lower level, and the factory recommended sway bracing, will be adequate for the capacities you need when the second level is added. Second, the spaces between the rack or shelf levels will affect the capacity of the uprights: the closer the shelf spacing, the higher the capacity of the uprights up to their maximum capacity. Therefore ensure that shelf spacing used on the lower levels is close enough to guarantee the required capacity, or, plan to add these extra shelf levels when the upper level mezzanine is added in the future.
The next concern comes extending the upright posts or frames to accommodate the second level. The second level posts are usually joined to the lower level posts with a factory approved splice kit. So, if you installed 7’ high shelving, you will have to remove the top shelf, install the splice and effectively reduce your storage capacity on the lower level. To avoid this situation, you can install higher posts than you need during the initial lower level installation. Then, when the time comes to install the second level, there is free post extending beyond your top shelf where the splice can be installed. The second floor can then be installed below the splice without affecting any of the existing shelves on the lower level. This option can be used with bulk rack, shelving or rivet rack applications.
The last two problems that you can avoid with a little planning are: floor anchoring and aisle spacing. Shelving supported mezzanines require the lower level posts to be fastened to the floor. This is very difficult to do after the shelving has been installed, usually requiring the emptying and removal of all the lower shelves to get access to the post bases. (Hopefully, those posts have floor shoes already installed to accept the floor anchors.) Then those lower shelves are re-installed and reloaded. This represents a significant investment in time and money. So, for a small additional cost per unit, you can install floor anchors in all the shelving units on the lower level in the first installation and avoid the higher cost later.
The last recommendation is to install row ties at the top of all the shelving units on the lower level. Over time, usage from loading & unloading and the occasional ‘bump’ from a cart or truck may cause shelving rows to become misaligned or to get out of vertical. Installing row ties ensures that all the rows are straight and none of the individual units are out of alignment. It also maintains a consistent spacing between the shelving units. Then, the flooring for the second level can be sized to easily fit in each row and no expensive custom cutting or fitting will be required during the installation process.
Accordingly if a mezzanine is in your future, take these few simple and inexpensive steps now to ensure a smooth and cost efficient transition to a two-level storage system in the future.
Innovo Storage Systems 1 Goldsmith St, Johnston, RI 02919 (401) 383-0883


